Easter Chic
Posted by Tiffany Roberts on Jun 13th 2023
Easter Chic Family Fun
Get Crafting with Craftparts
Easter is such a great time to come together to celebrate the festive letter F.
Food, Fun, Family & Friends. In no particular order!
We wanted to share with you how The Craftparts Family crafts up this special Holiday. Dyeing, painting… decorating!
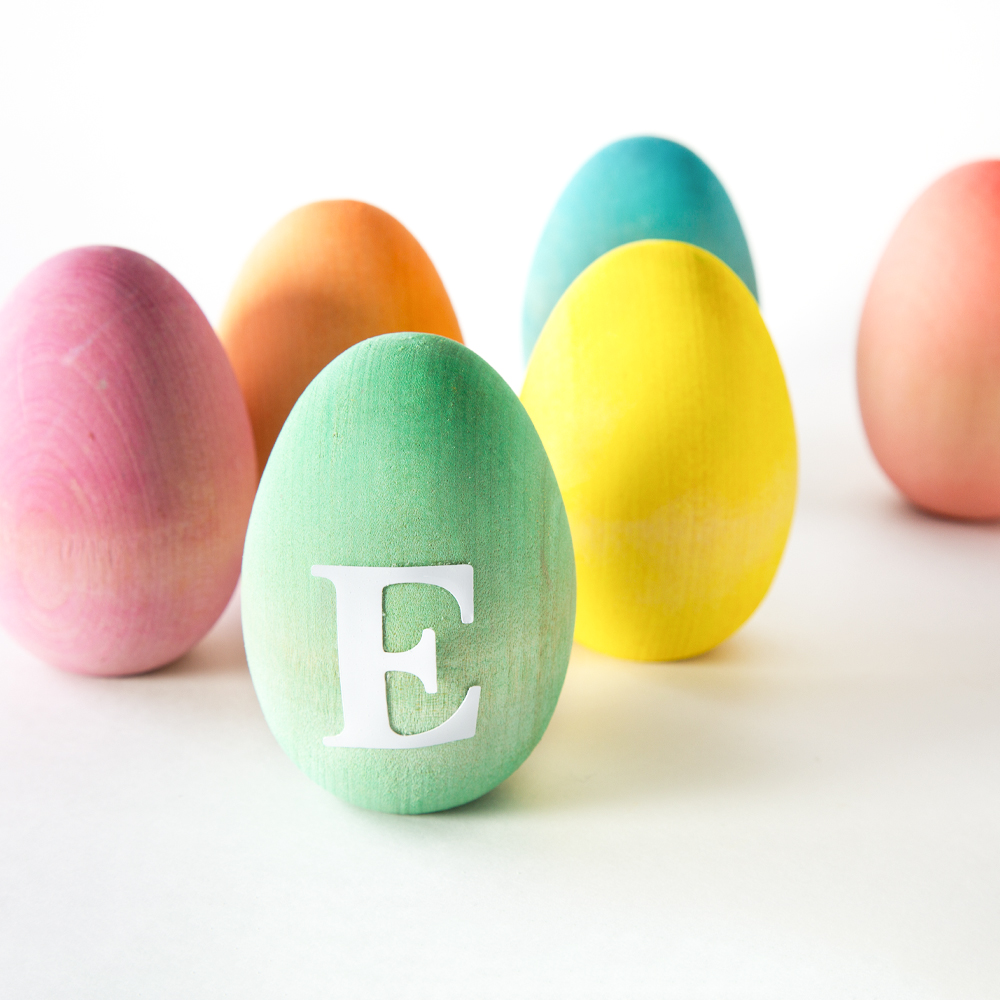
For traditions sake, we couldn’t resist dipping some products in some good old fashioned dye, but the vibrant colors paint can bring to life are not to be neglected, so we went with both. What’s more chic than that?
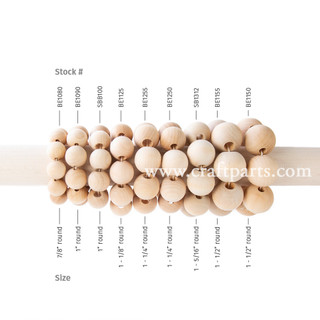
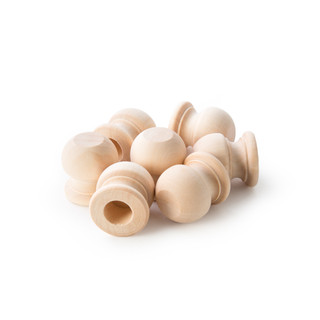
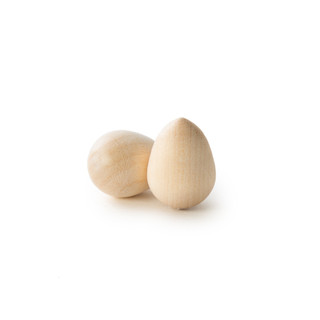
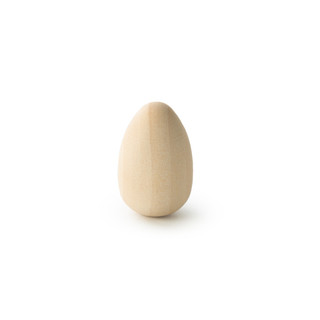
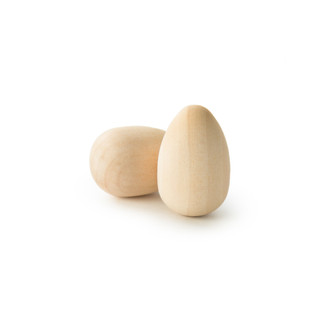
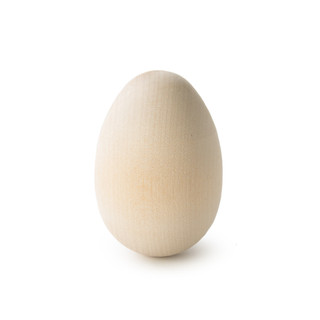
Start by setting up your dye. This is easily achieved with store bought dye and plastic cups. Fill cups, or whatever you have handy with dye and add whatever products you would like. We dyed eggs, egg stands, and beads!
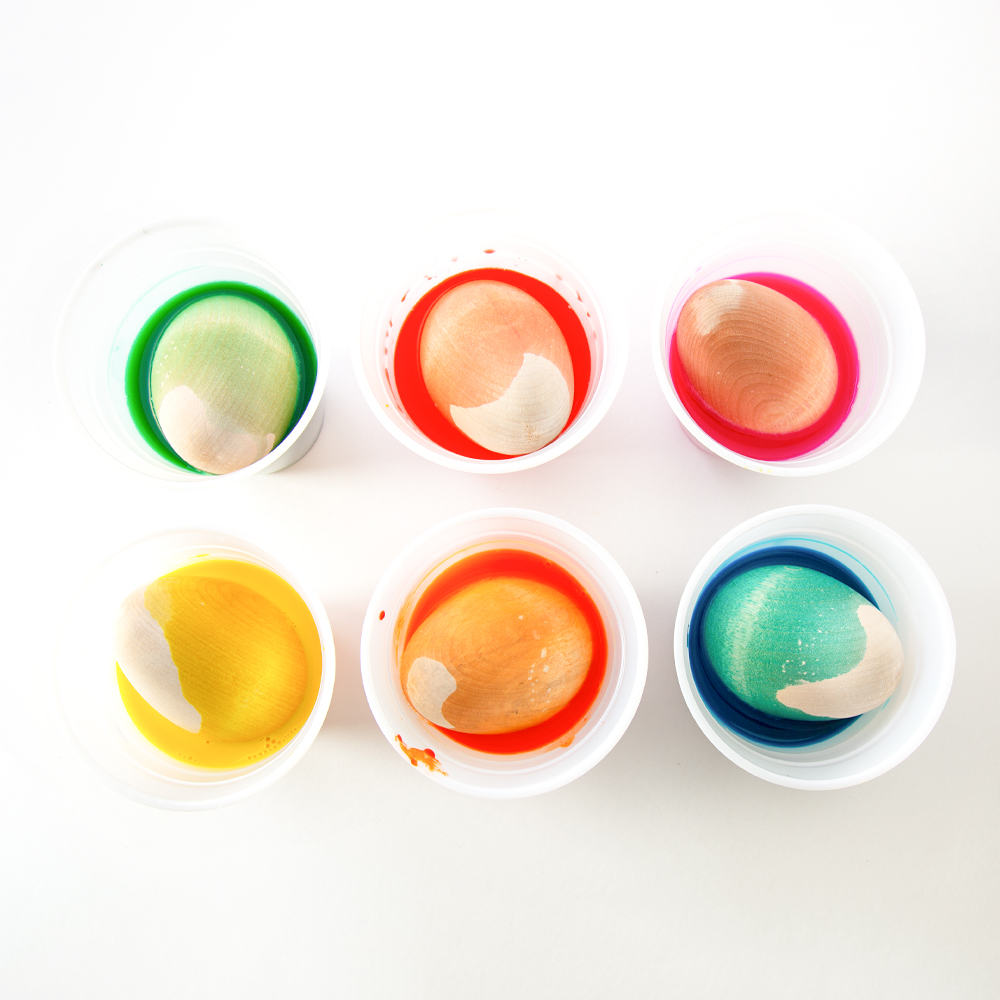
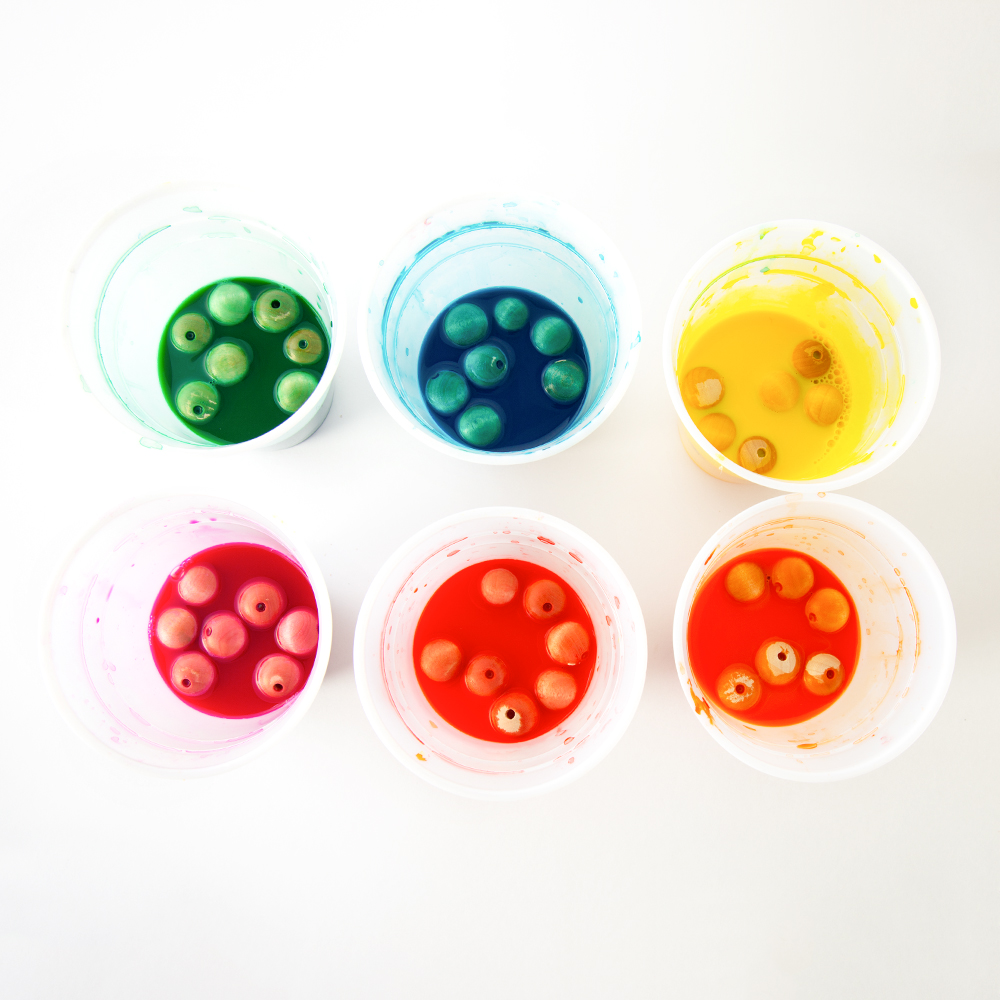
While your products are dyeing, start painting!
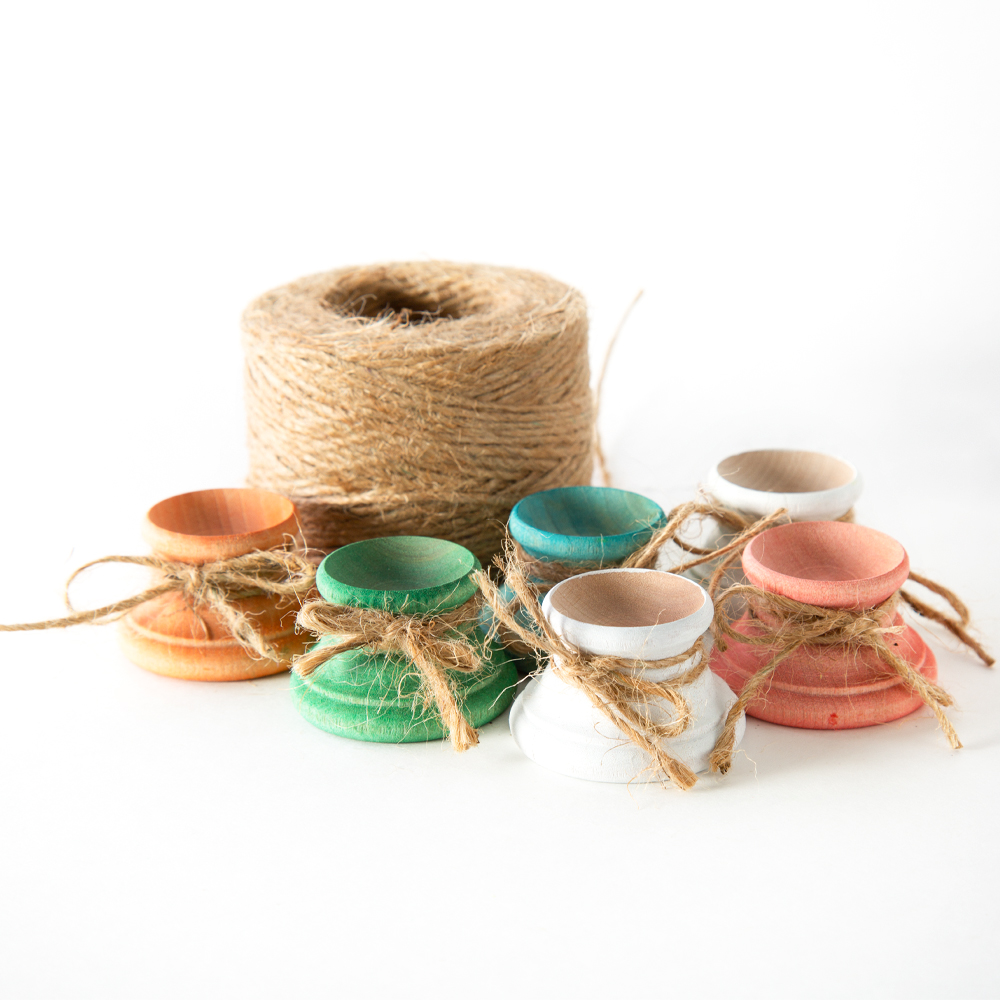
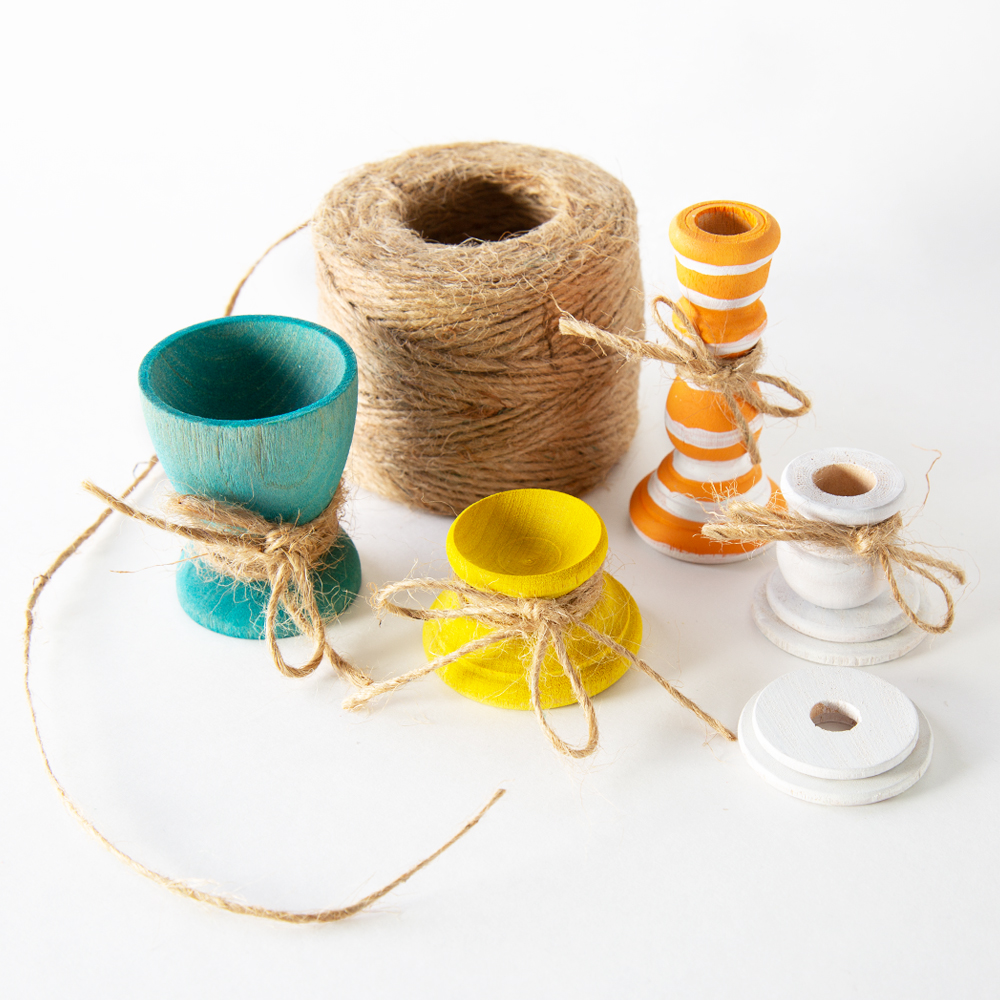
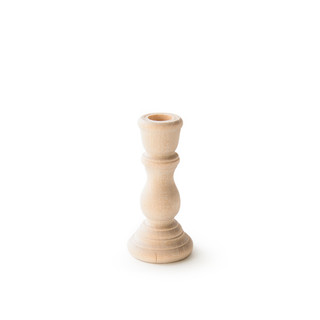
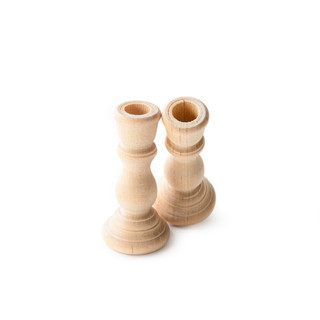
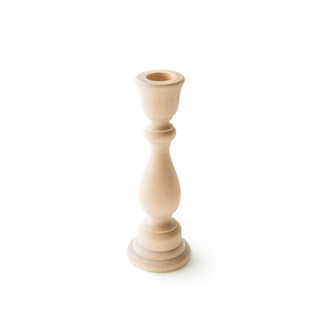
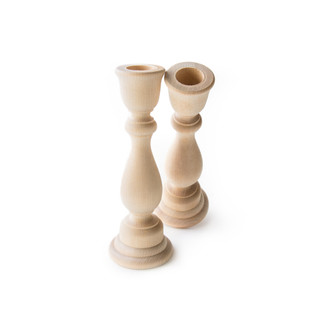
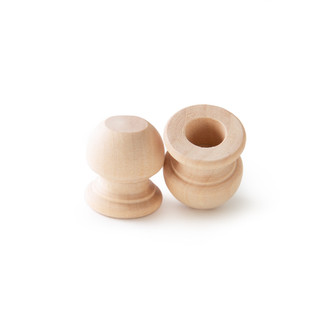
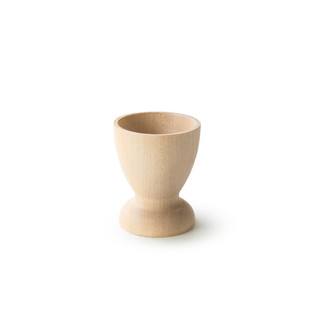
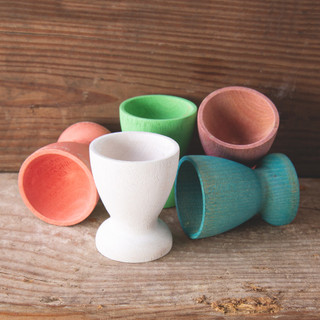
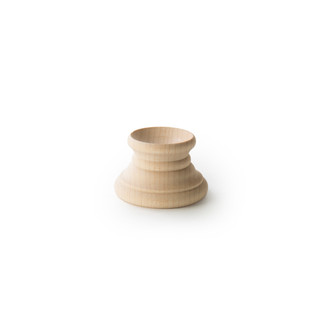
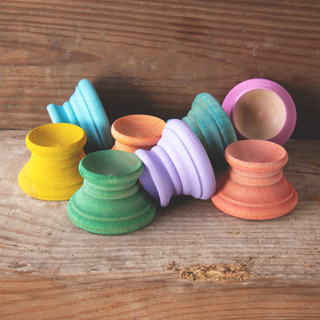
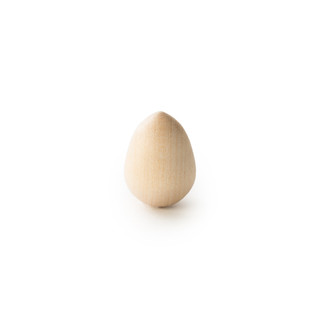
We painted eggs, egg stands, egg cups, candlesticks, end caps and circles.
Use whatever colors or design works for your setup. The best part about this is the less perfect you paint, the more chic they look. Perfectly imperfect is the name of the game! Have the kiddos paint new eggs every year, save the eggs up over the years and see the differences of their chic decor. Memories that will last a lifetime!
Pull your dyed products out to start drying after about 30 minutes or so. Continue painting while they dry.
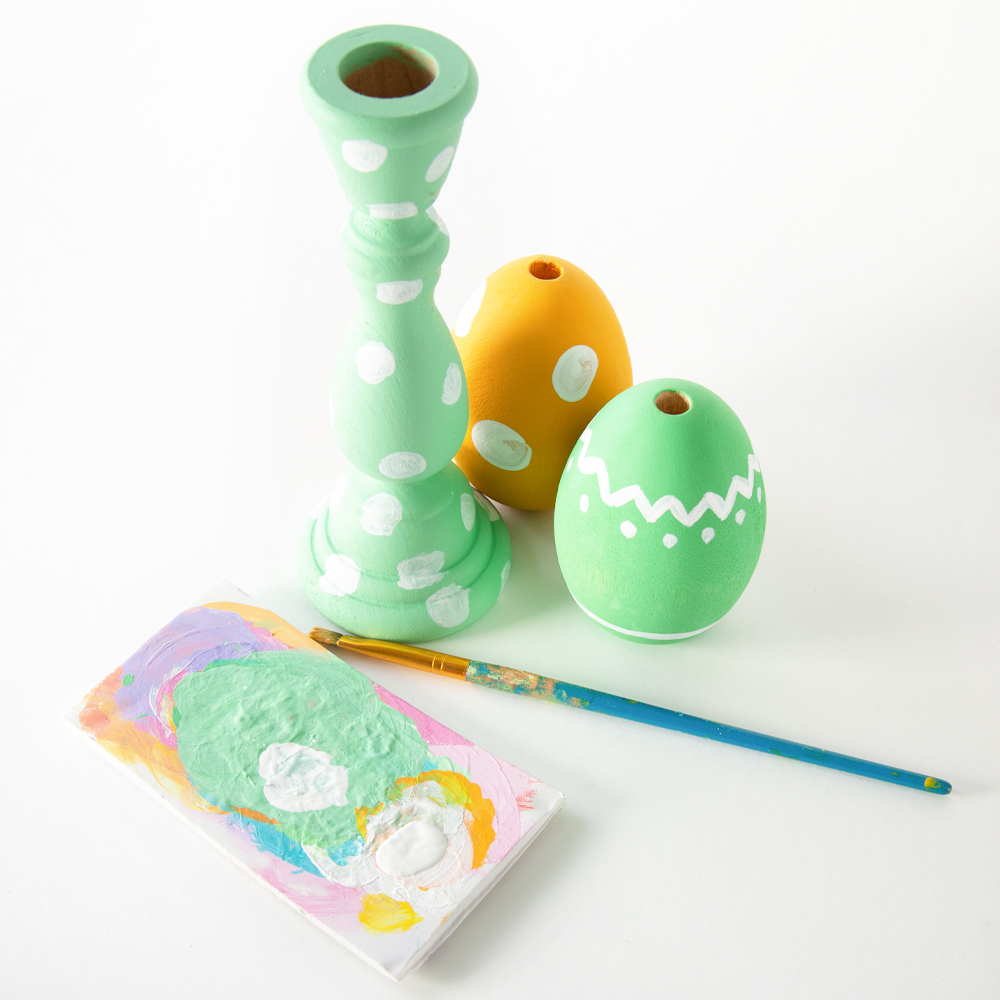
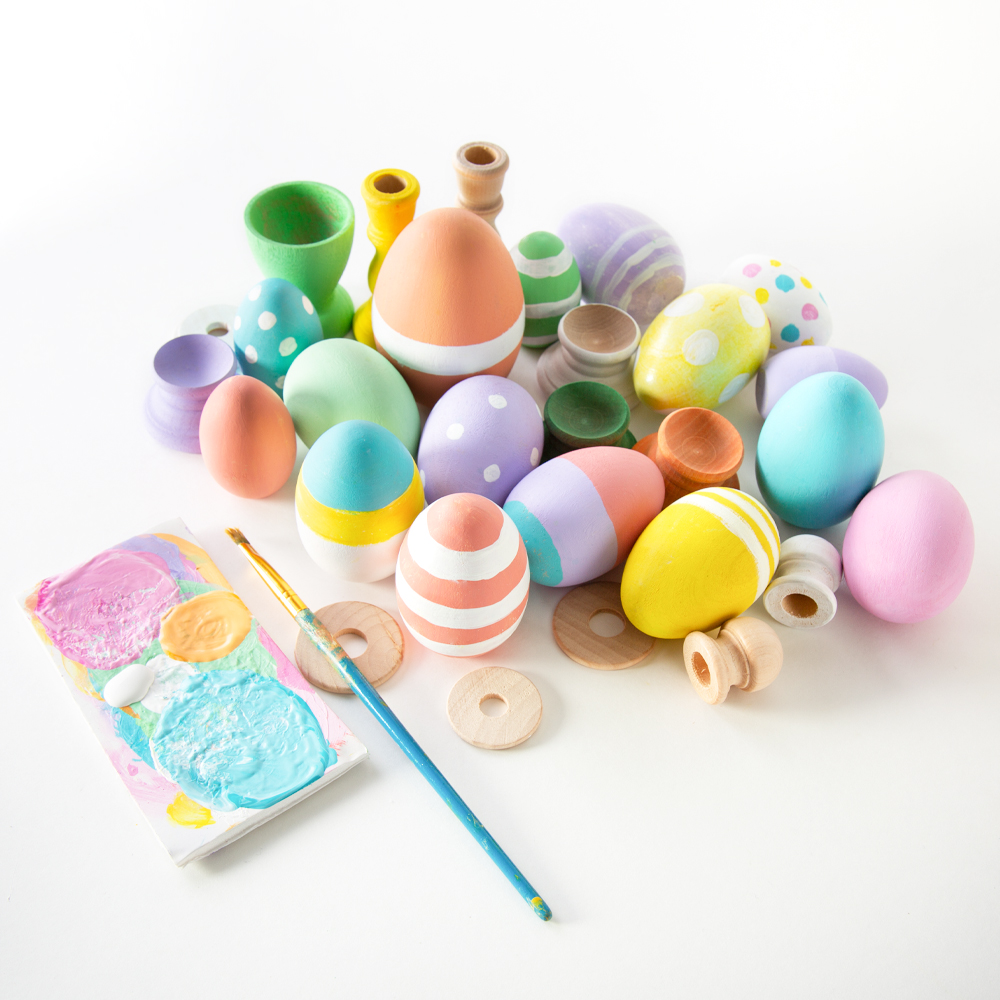
Set your painted products to the side to dry. By now, your dyed products should be dry and ready to embellish!
Add stickers, twine or adorn however your heart desires.
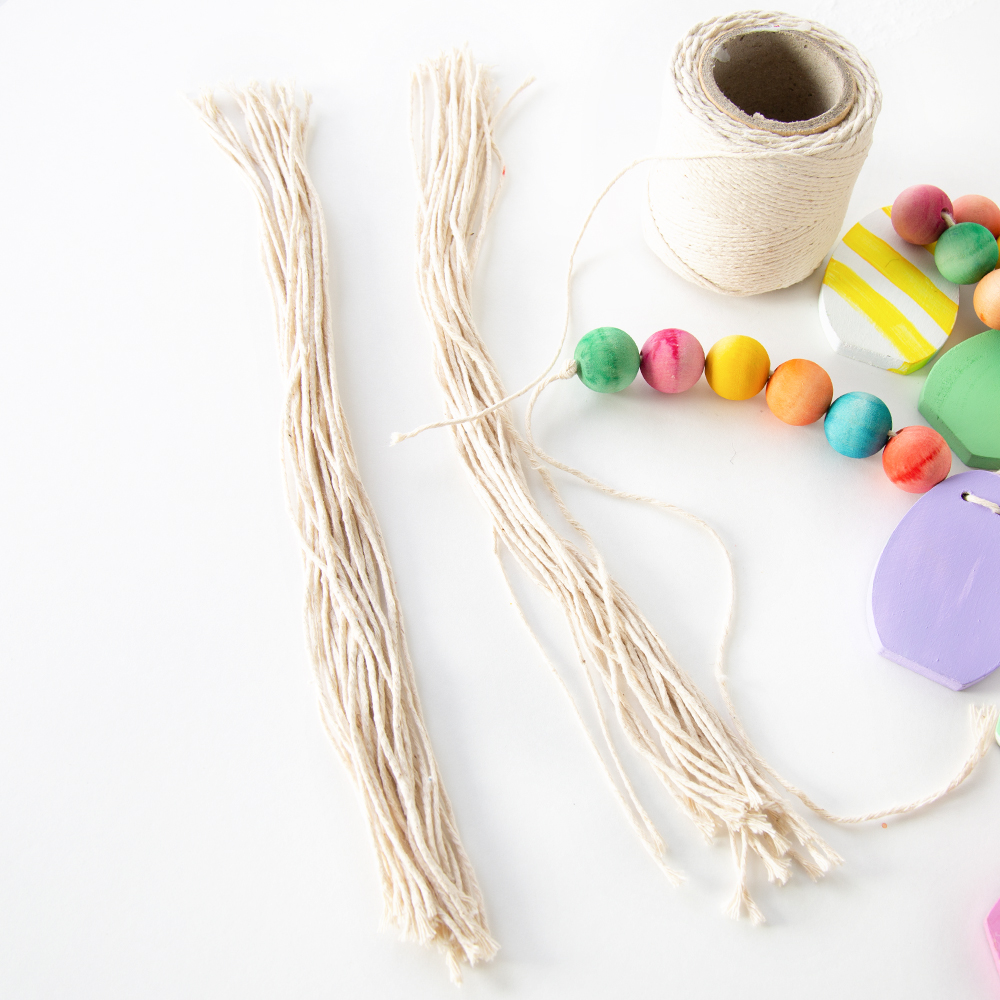
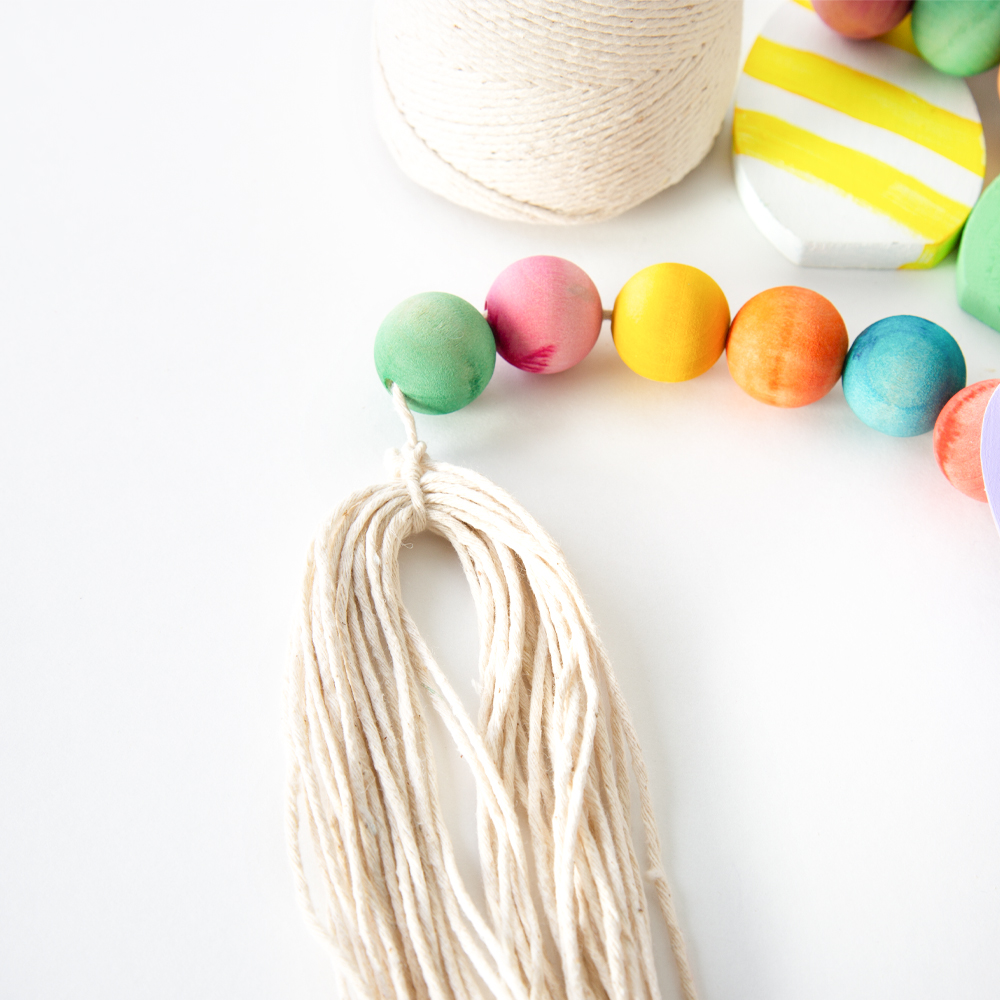
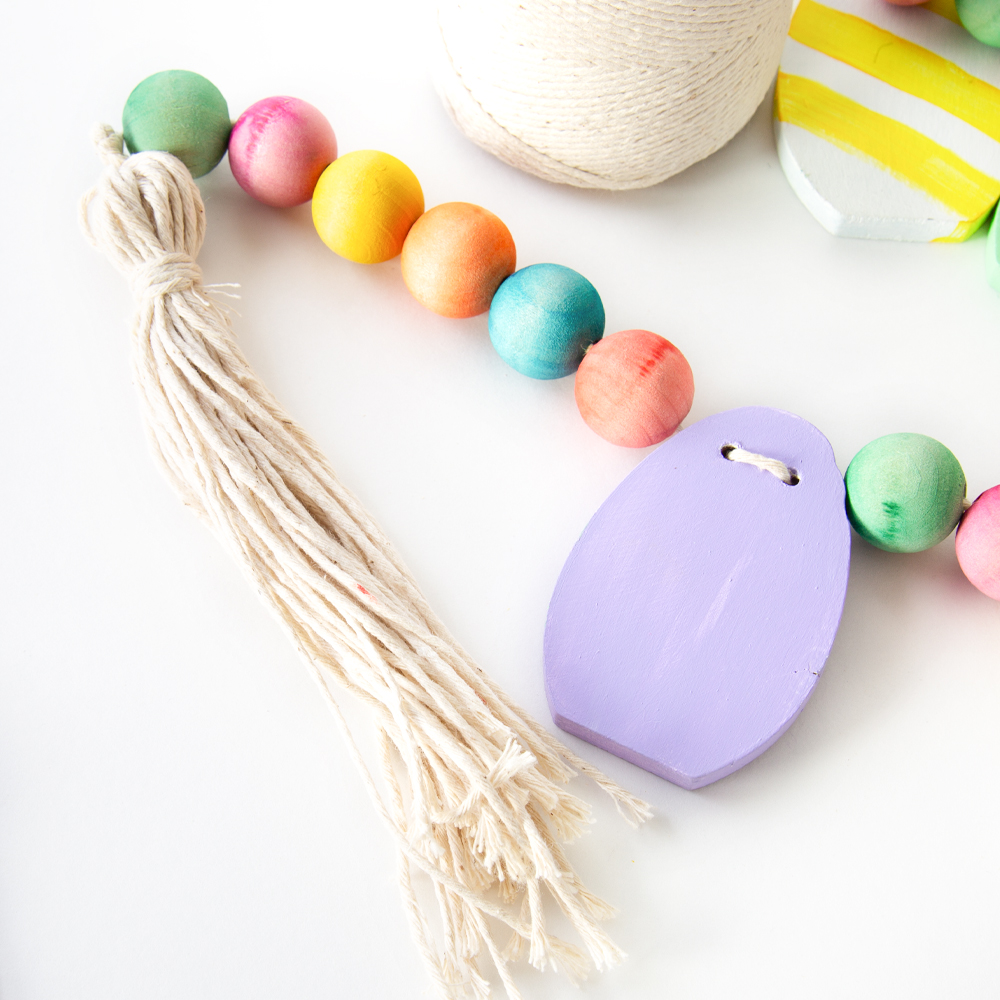
One of the things we wanted to have on our chic table setting was some bead garland. To add the Easter touch, we drilled two small holes in egg shapes that we painted.
Grab your beads and the optional egg shapes and string them on some twine.
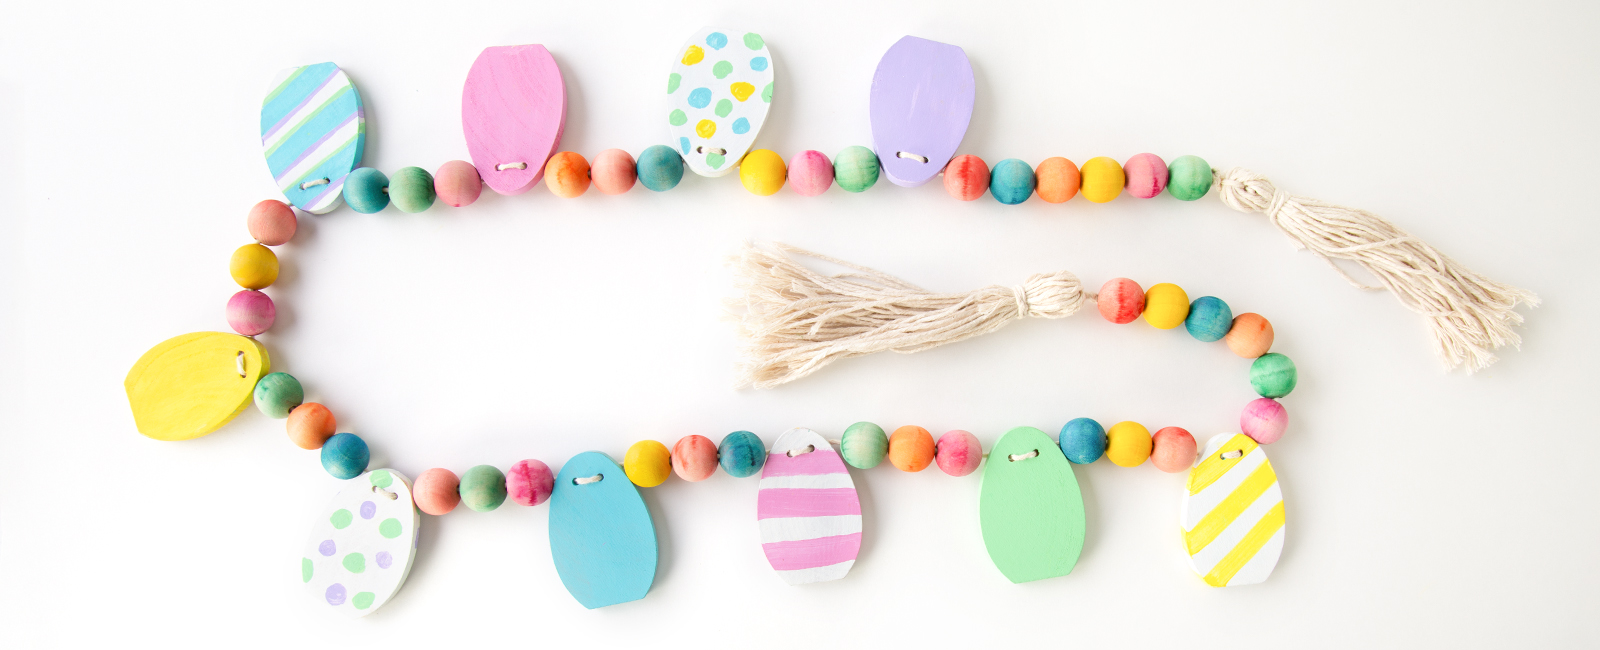
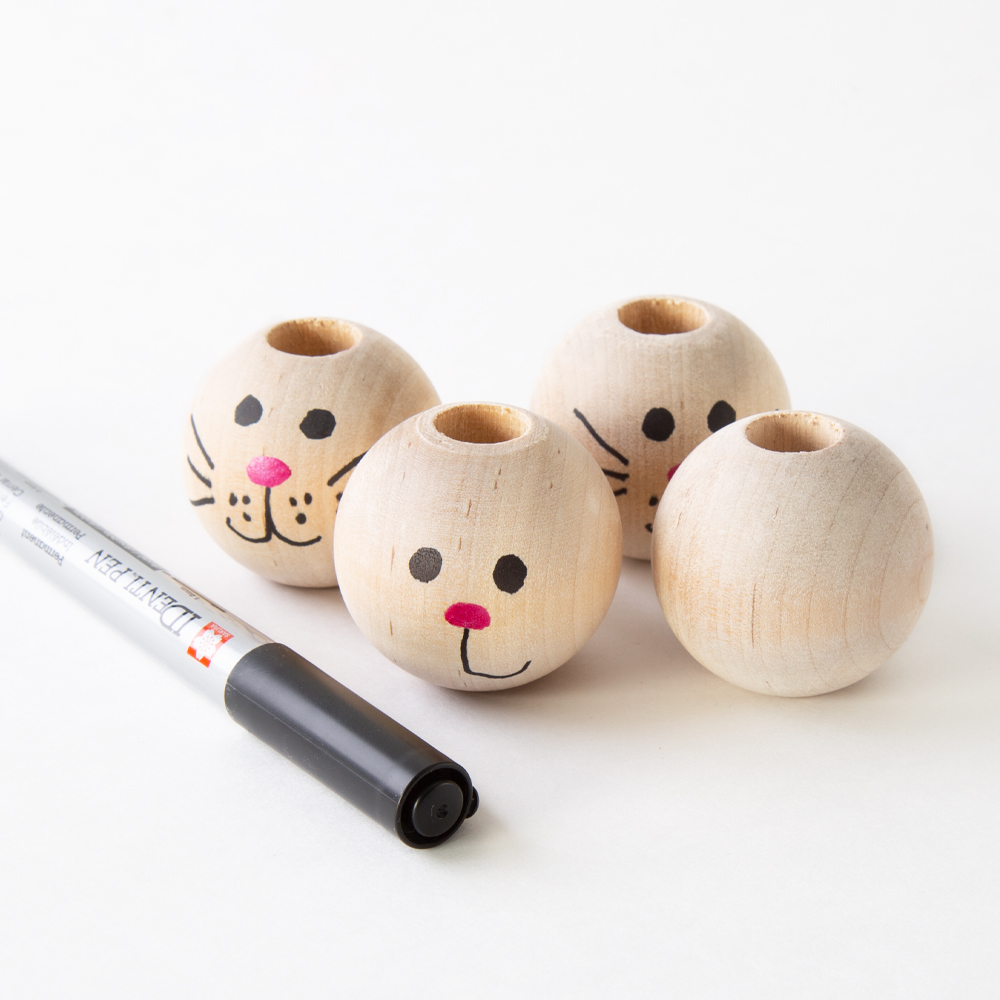
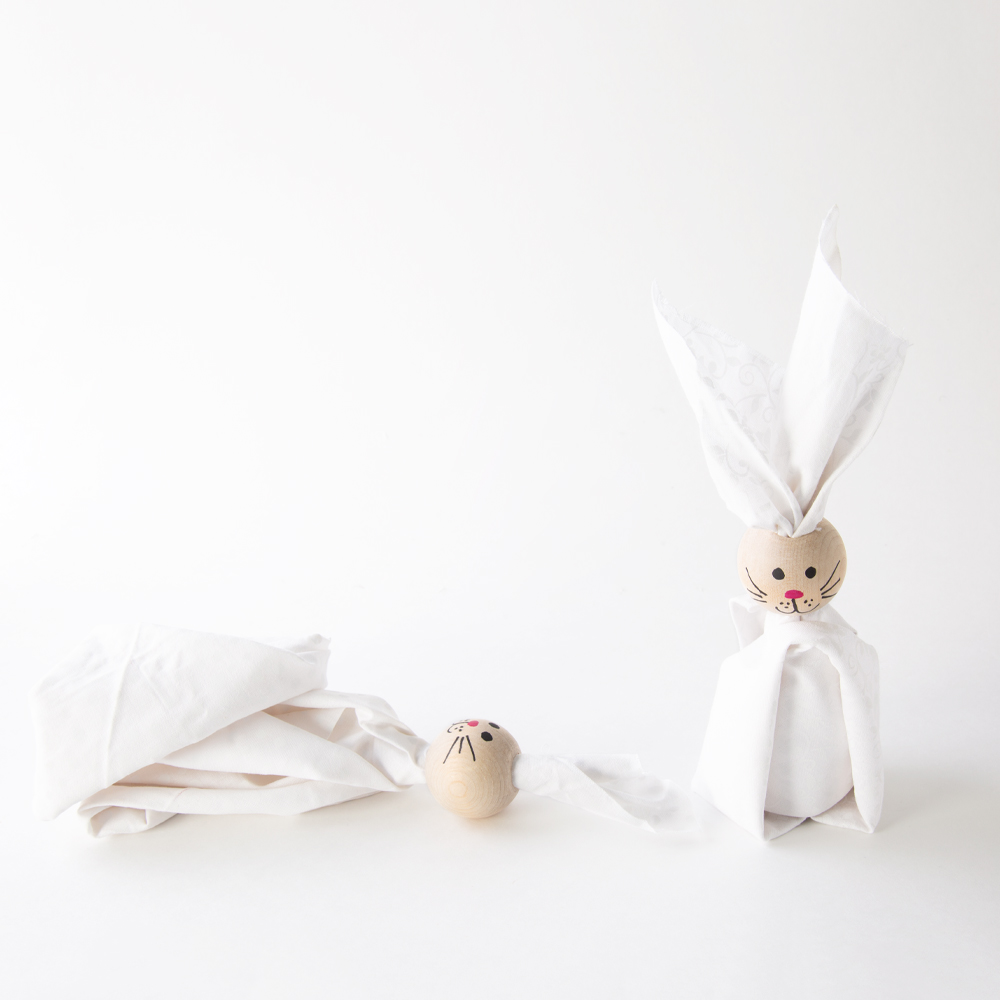
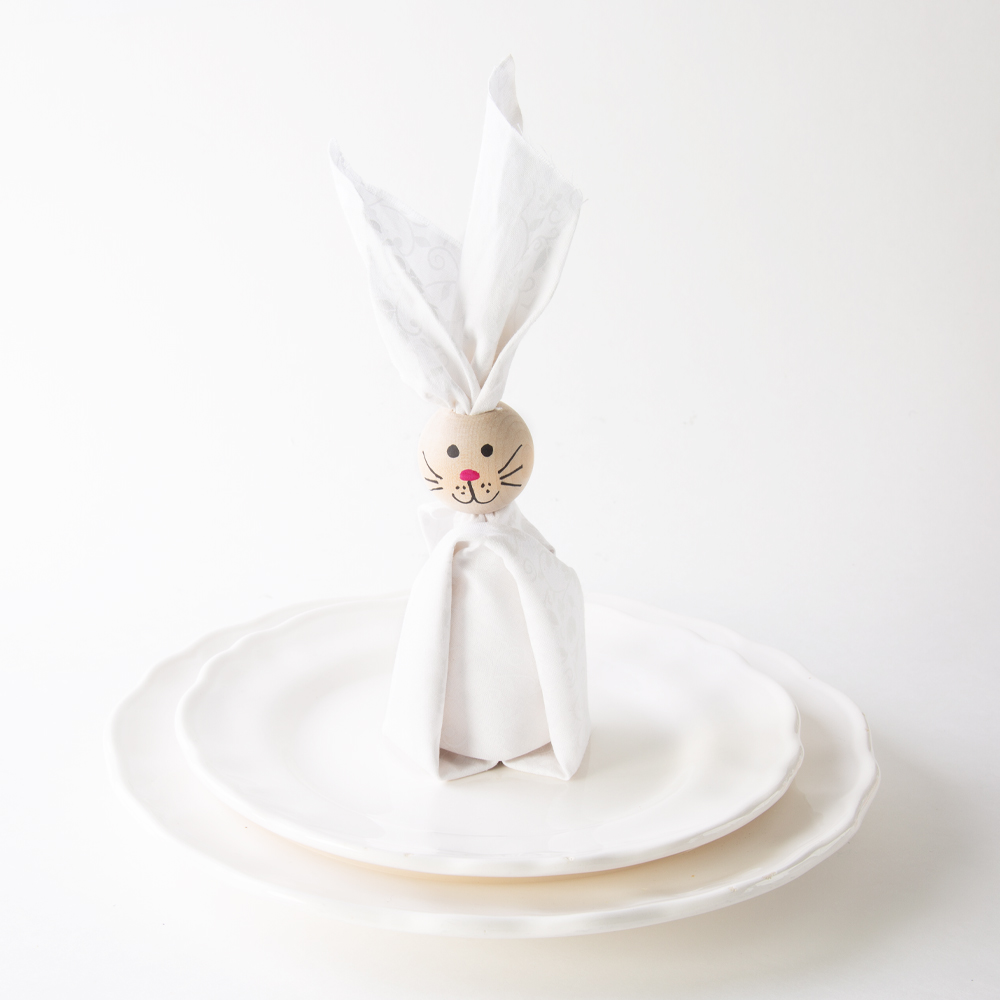
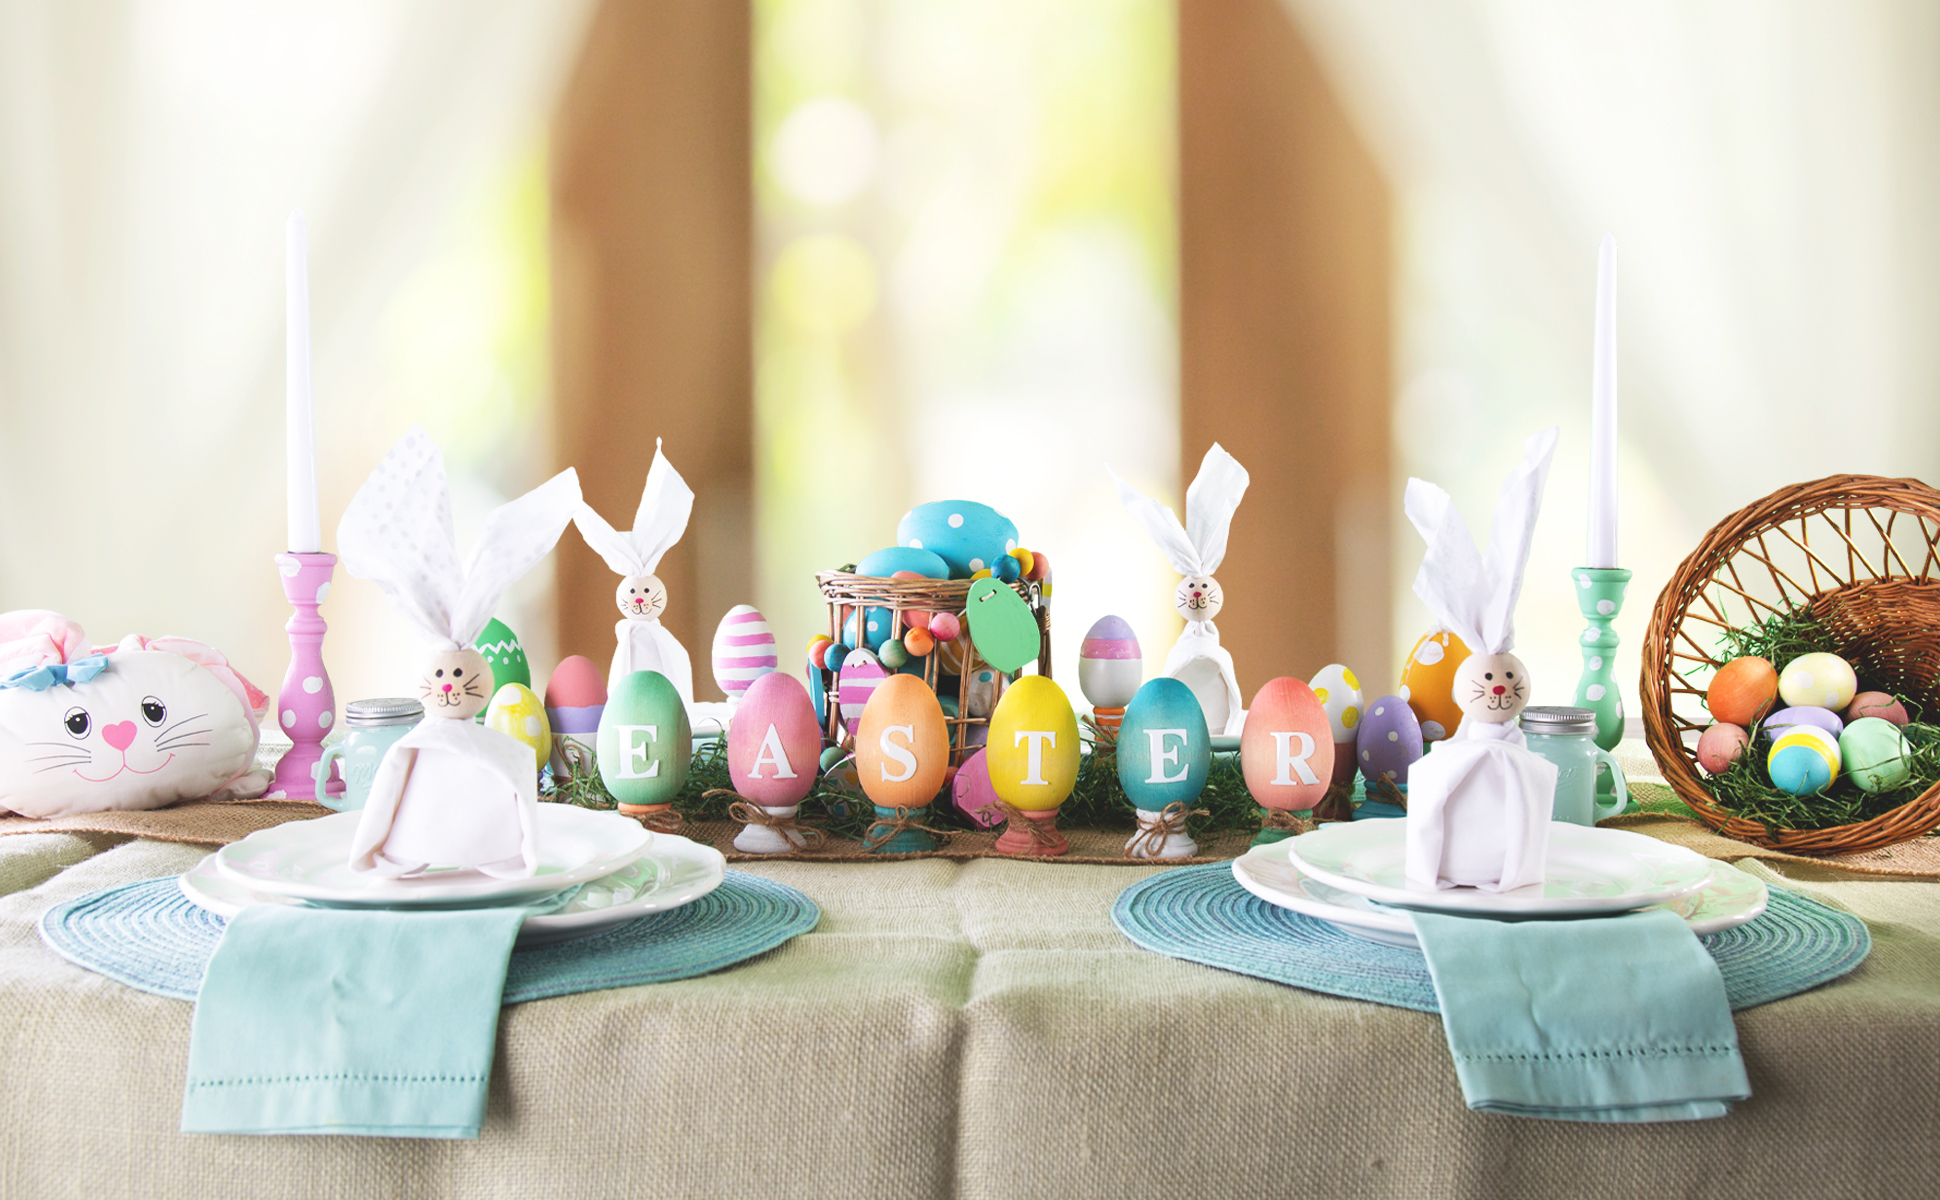
To finish off our look, we drew a quick and easy bunny face on a bead and pulled a small napkin through the hole. The end result couldn’t have been any better!
Once all of our items were dry and decorated, we glued some eggs to circles, end caps, candlesticks, egg stands and egg cups to create different heights for the table setting. This is completely optional, but we found the items are much sturdier this way.
Once your glue is dry, set your table!
 USD
USD
 Canadian Dollar


